Editing Tips for Stunning Food Photos: Enhancing Your Images with Post-Processing
Modifying food photographs is an essential part of generating amazing, eye-catching pictures that reveal the beauty and appeal of tasty dishes. You can improve colors, fix exposure, and bring out those elements that really captivate in food photography with proper post-processing techniques. This complete guide will cover top editing tips for food photos including adjusting basic settings all the way up to more advanced methods that make your images pop. Whether you’re an excited eater or a pro photographer shooting meals for a living, these editing tips should help take your skills to new heights.
01. Why Editing Matters in Food Photography
Editing is so important when it comes to taking pictures of food because it allows one refine their image by enhancing only what they want people looking at most. Here are a few reasons why I think this is:
- Boosting Colors: Modifying will let you enhance vivid colors in your food pictures making them seem more inviting and appealing.
- Fixing Exposure: Occasionally, food images may suffer from lack of light or too much brightness. Editing can help you rectify such issues so that there is an even-toned photo at the end.
- Emphasizing Textures and Details: After-processing tactics can enable one bring out textures and details which direct the eye of a viewer towards main parts of a dish.
- Creating Uniform Style: By editing, it becomes possible to establish a consistent style inherent to food photography that reflects either personal taste or brand identity.
02. Necessary Tools for Editing Food Photography
To edit food photos effectively there are certain tools required. Here are some basic editing tools used in food photography:
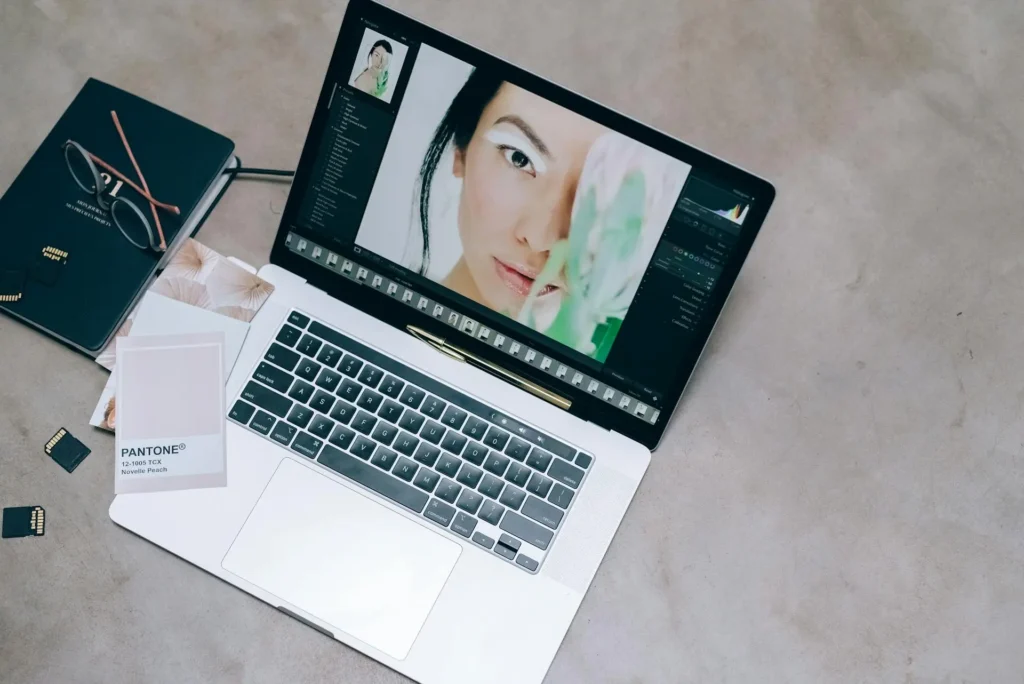
2.1 Adobe Lightroom
Adobe Lightroom is a well-known post-processing software used for photo editing. It is equipped with a great number of tools which enable users to adjust such settings as exposure or color balance. The software is incredibly user-friendly and intuitive. Lightroom can also be employed for batch processing which makes it perfect for food photographers working with large quantities of images at once.
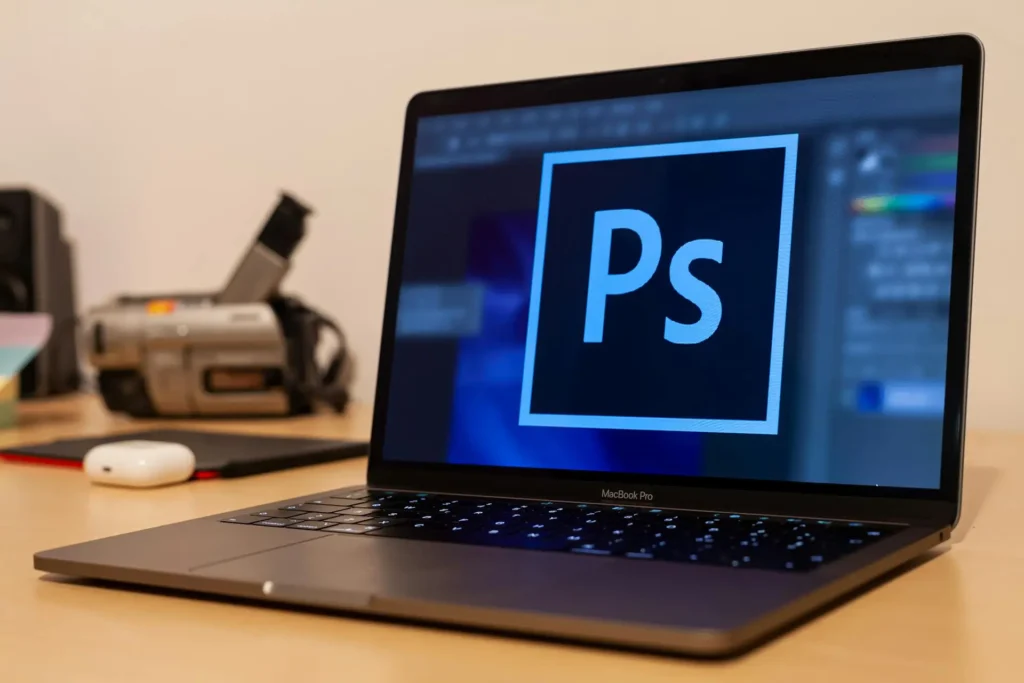
2.2 Adobe Photoshop
Adobe Photoshop is a powerful photo editing tool designed mainly for retouching food photos. It offers advanced features like layers or masks that allow for more detailed work on an image. This software is ideal when it comes to complex editing tasks as well as creating composite pictures.
2.3 Mobile editing apps
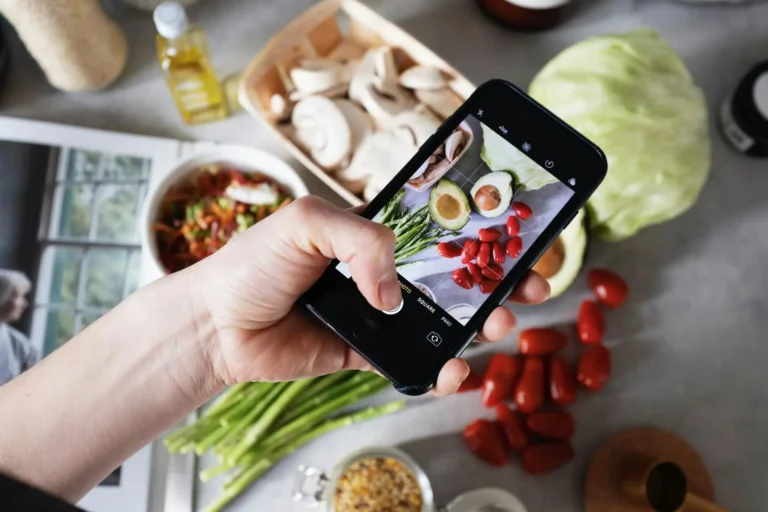
Mobile editing apps such as Adobe Lightroom Mobile or Snapseed are very useful if you need to make quick changes while being on the go. They provide basic editing tools and are recommended especially for those who take pictures of food with their smartphones.
03. Basic Editing Techniques for Food Photos
Before we get started with more advanced techniques, let’s cover some basic principles that contribute to beautiful food photography:
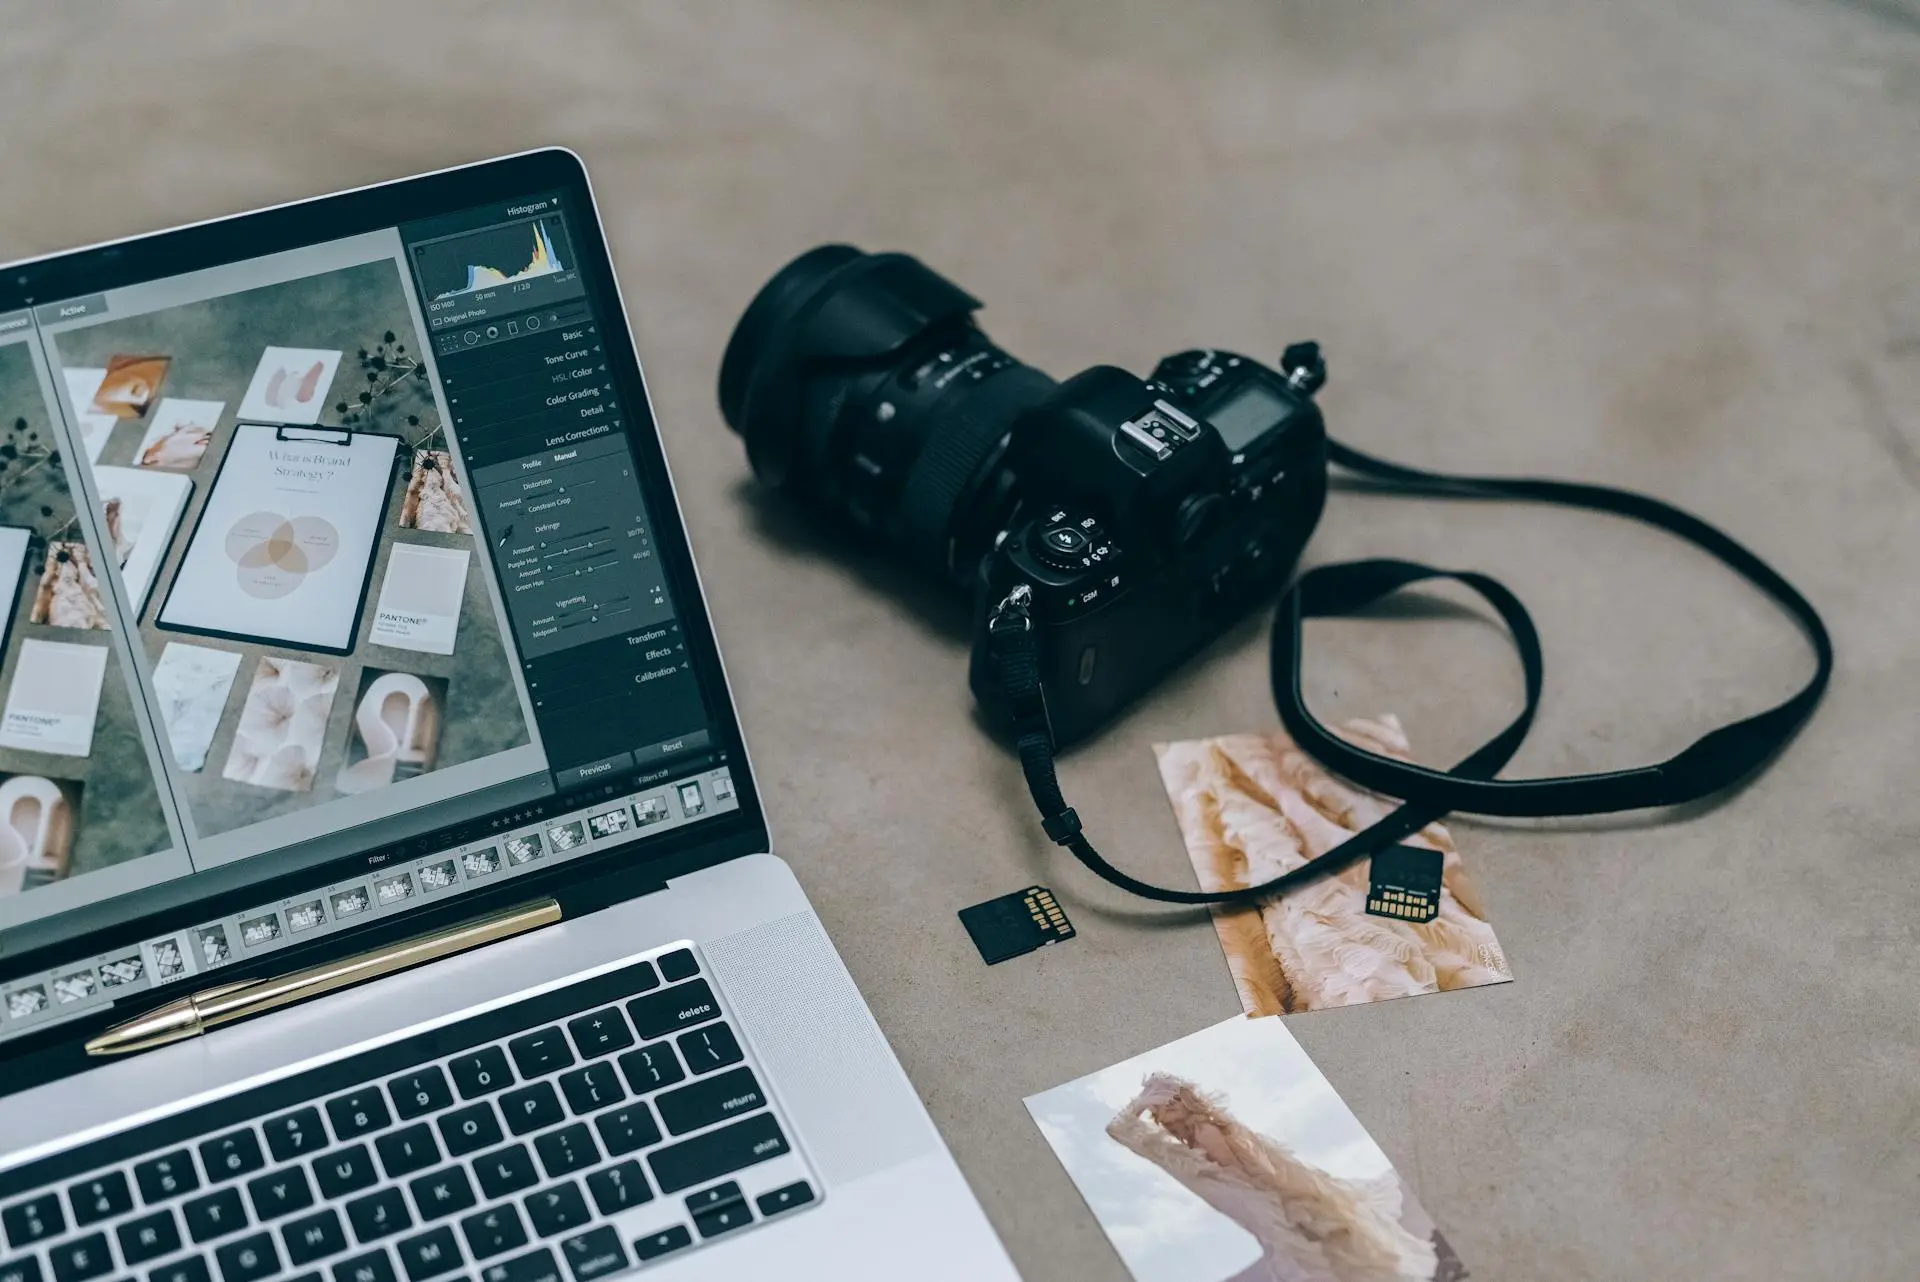
3.1 Adjusting the Exposure
Exposure refers to the brightness level in your image, and here’s how you can change it:
- Brightness: Adjust the overall brightness up or down until the exposure looks right.
- Highlights and Shadows: Bring out details in bright areas by lightening them, and do the same with dark areas.
- Contrast: Amplify contrast for a more energetic picture.
3.2 Correcting White Balance
White balance makes sure that food photos show colors as they really are. Here’s how to adjust white balance:
- Temperature: Warm or cool the image by adjusting the temperature.
- Tint: Eliminate color casts by correcting the tint.
3.3 Enhancing Colors
Colors are very important in food photography. These tips will help you make them look better:
- Vibrance: Increase vibrance to enhance muted colors without making them too intense.
- Saturation: Control color vividness by adjusting saturation.
- Individual Color Adjustments: Refine different colors to bring out key elements in the dish.
3.4 Cropping and Composition
Cropping can fix composition problems and eliminate unnecessary parts of an image. Try these techniques:
- Rule of Thirds: Place key objects on or near lines that divide the photo into thirds, or at their intersections.
- Remove Unwanted Elements: Get rid of anything that is not contributing to your message.
04. Advanced Techniques of Editing for Food Photography
Once you are knowledgeable about the foundations, there are advanced editing techniques to experiment with and bring your food photos to life:
4.1 Dodging and Burning
Selective lightening (dodging) or darkening (burning) of areas in an image is called dodging and burning. This creates depth and highlights specific parts of a dish. Soft brushes should be used when applying dodge and burn subtly.
4.2 Clarity & Texture
When used correctly, Clarity & Texture adjustments can really bring out the best in your food photos by enhancing details as well as adding depth. Here’s how it works:
- Clarity: Definition is added to midtones through increasing clarity but this should be done moderately else everything might end up looking unnatural.
- Texture: Adjustments on texture will help accentuate fine points while also giving them that touchable feel.
4.3 Selective Color Adjustments
Selecting color adjustments allow you to pick out certain colours within your food pictures which helps highlight different components or create a unified colour scheme. Use Hue/Saturation/Luminance sliders under HSL-Tab for individual color adjustments.
4.4 Editing and Erasing Spots
The process of retouching involves removing unwanted elements or distractions from your food photos. Below are ways on how to make this happen effectively:
- Spot Removal: Spot removal is the tool that enables you to eliminate blemishes, crumbs, or other kinds of distractions.
- Healing Brush: In addition to removing large defects this brush also blends the surrounding areas.
4.5 Adding Vignettes
Vignetting refers to subtle darkening or lightening effects around the edges of an image which can be used to direct attention towards the center as well as give a sense of depth. However, it should not be overdone because it may cause overemphasis. Follow these tips when applying vignettes:
05. Be Consistent With Your Editing Style
If you want to build a brand or create a portfolio with your food pictures then consistency in editing is necessary. You can do that in the following ways:
5.1 Make Presets
Presets help save specific editing settings so that they can be easily applied across many images. With Lightroom and other editing software programs, you can create these looks for all your food photographs.
5.2 Batch Process
When dealing with large volumes of pictures, batch processing allows one to apply changes simultaneously thus ensuring uniformity throughout all edited food images.
5.3 Follow a Theme
Think about a common thread or style for your food photography. You could base this on colour palettes, lighting or overall style. Doing this will produce a coherent set of photographs.
06. Conclusion
Editing is an important part of creating amazing photos of food. By learning basic editing techniques and experimenting with more advanced post-processing methods, you can improve your food photography and make it more engaging. Ensure that you adjust exposure levels; fix white balance problems; enhance colours in order to show the best features of your dishes in pictures. Use advanced methods such as dodging and burning; selective colour adjustments as well as vignettes which will bring out depth and focal points on your images. Establish an editing technique that’s consistent throughout all your works so they appear connected together like one body would have done otherwise been possible before but now thanks to these tips there is no limit at all other than imagination only limits creativity itself know what I mean exactly by saying so?
07. Frequently Asked Questions
01. Which software should I use to edit my food pictures?
Alterations of Adobe Lightroom and Adobe Photoshop are popular for editing food photos. Also, Lightroom Mobile and Snapseed apps on the mobile platform allow quick edits while you’re on the move.
02. How do I correct exposure in my food photos?
To get a balanced exposure, adjust brightness, highlights, shadows, and contrast. Your adjustments need to be based on the histogram.
03. What are some common ways to enhance colors in food photos?
Increasing vibrance and saturation can improve color. Adjustments can be made with individual colors to achieve a certain look or feel throughout all images…
04. What is dodging and burning in food photography?
Dodging lightens specific areas while burning darkens others; both create depth and focus when applied correctly during post-production workflows!
05. How can I develop a consistent editing style for my food photography?
Developing presets that suit your taste may involve batch processing techniques following particular themes – this will ensure that all images have an overall cohesive look/feel…

Your blog has helped me through some tough times and I am forever grateful for your positive and uplifting content
Thanks for your comment