Creating Stunning Food Flatlays: A Step-by-Step Guide
Food flat lays photography has become a popular trend on social media platforms, allowing individuals to showcase their culinary creations in a visually captivating way. In this guide, we’ll explore the art of creating stunning food flatlays, from selecting the right lighting to styling your scene and sharing your creations with the world.
01. Understanding Food Flat Lays Photography
What are food flat lays?
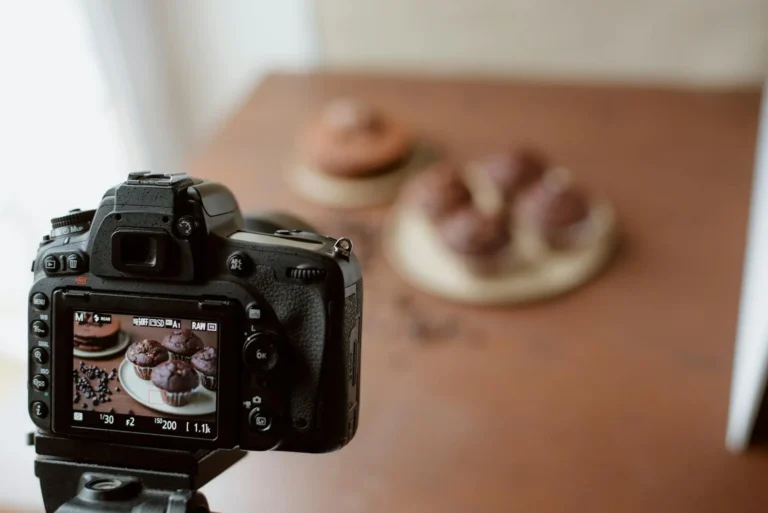
Food flat lays involve arranging food and props on a flat surface and capturing them from above. This style of photography offers a unique perspective that highlights the colors, textures, and details of the food.
Importance of food flat lays photography
Food flat lays photography allows you to showcase your culinary creations creatively and artistically, making them more visually appealing to viewers. Whether you’re a food blogger, a chef, or simply a cooking enthusiast, mastering the art of food flat lays can take your food photography to the next level.
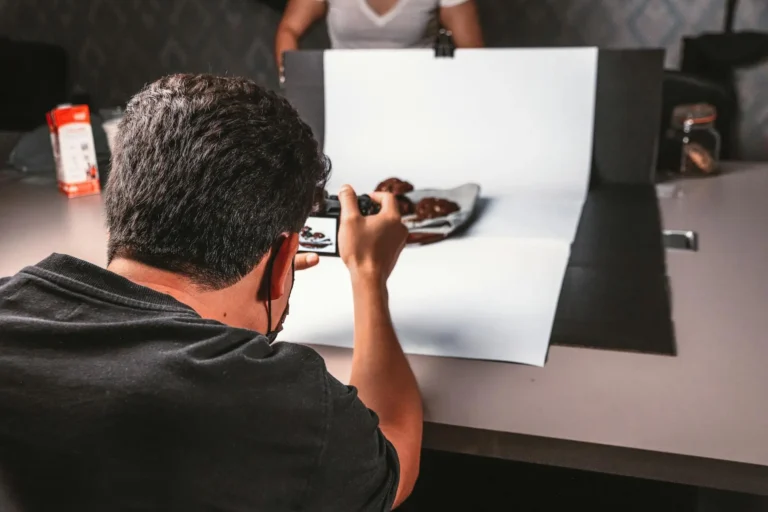
02. Selecting the Right Lighting
Natural vs. artificial lighting
While natural light is often preferred for its soft, flattering quality, artificial lighting can also be used effectively in food flat lays photography. Try various lighting arrangements to get the right effect for your pictures.
Tips for achieving optimal lighting
Position your setup near a window to take advantage of natural light, or use artificial lighting sources such as studio lights or LED panels. Pay attention to the direction and intensity of the light to avoid harsh shadows and overexposure.
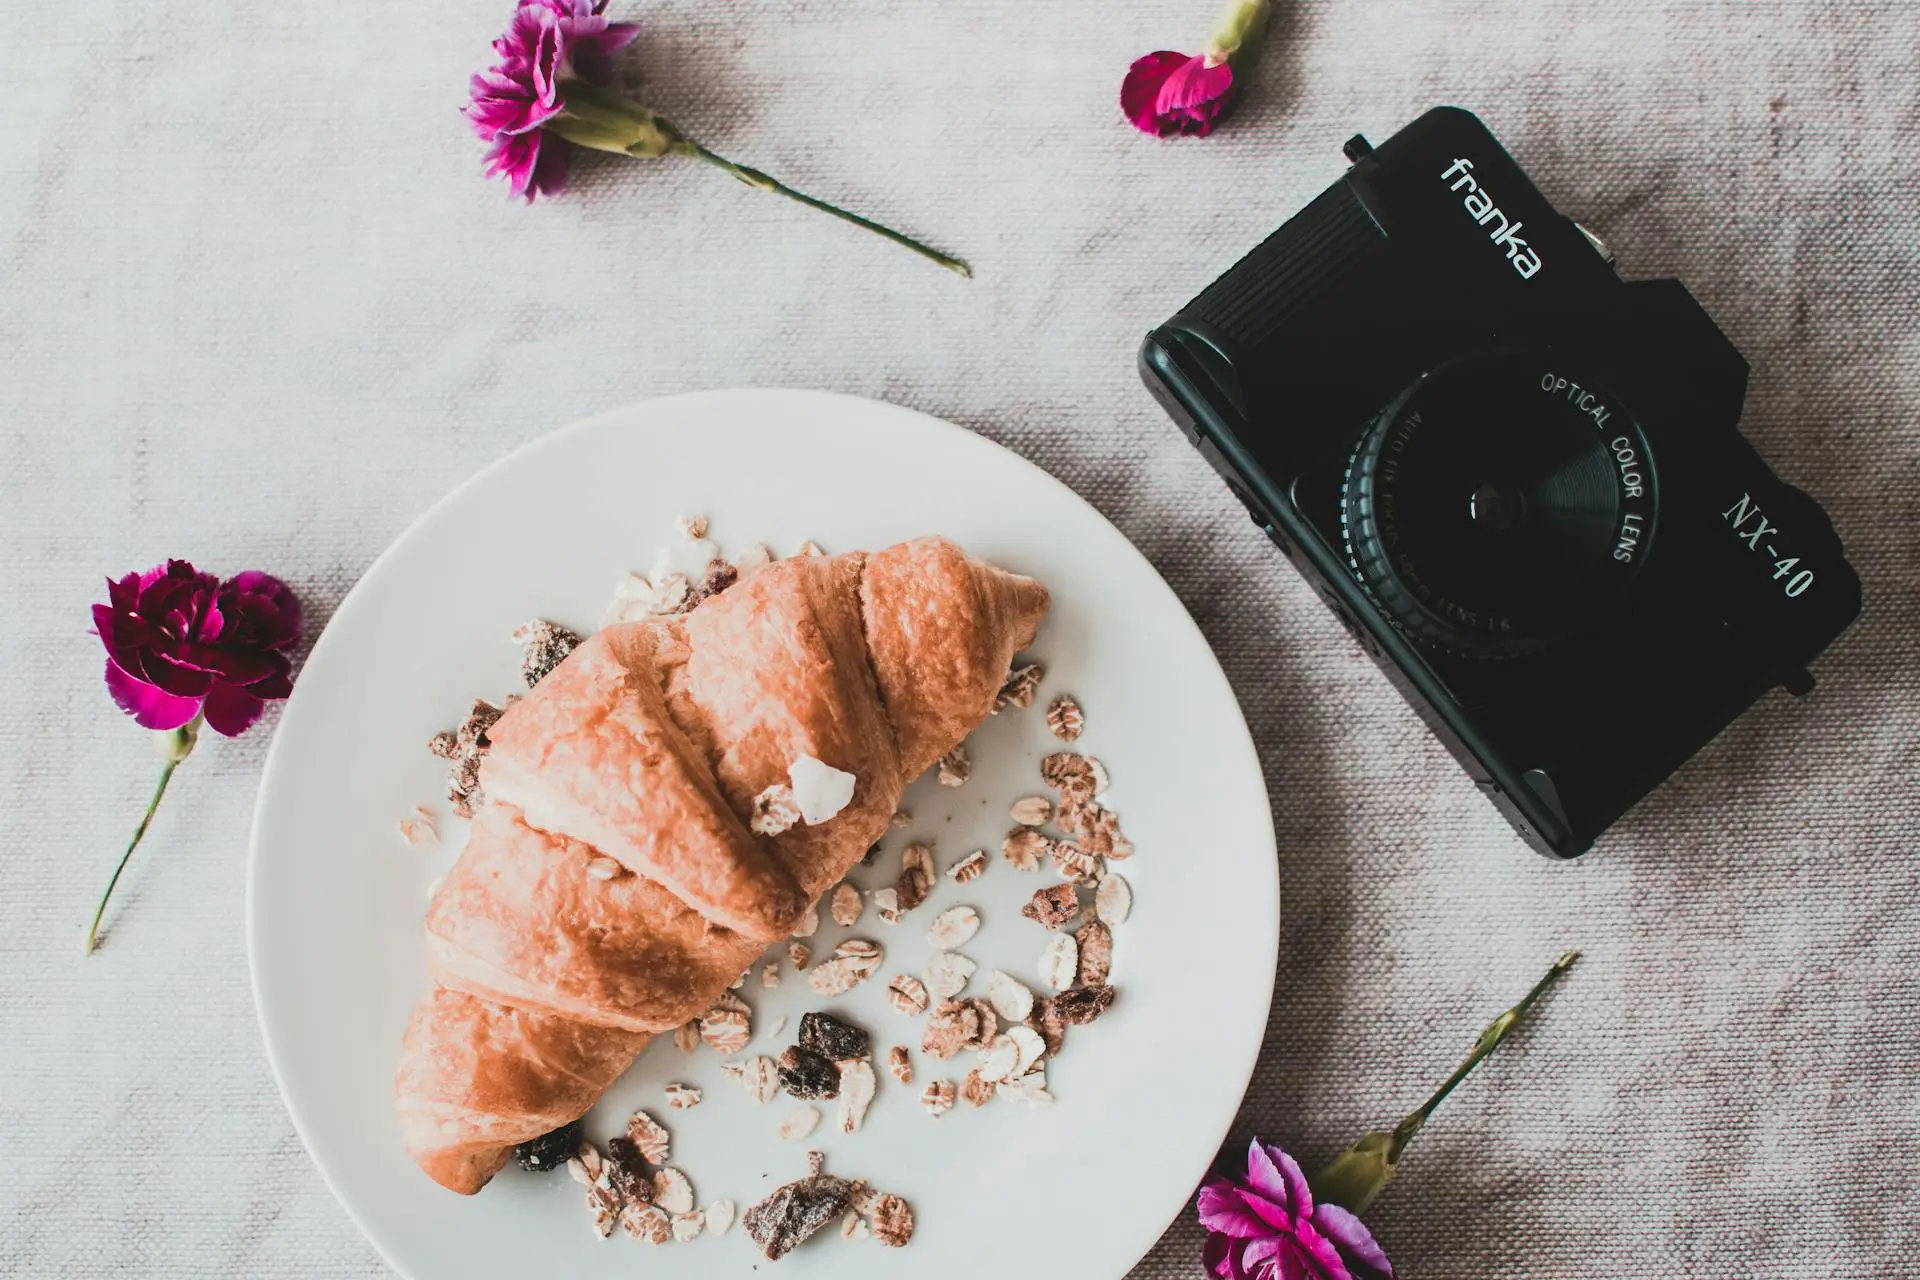
03. Arranging Props and Styling Your Scene
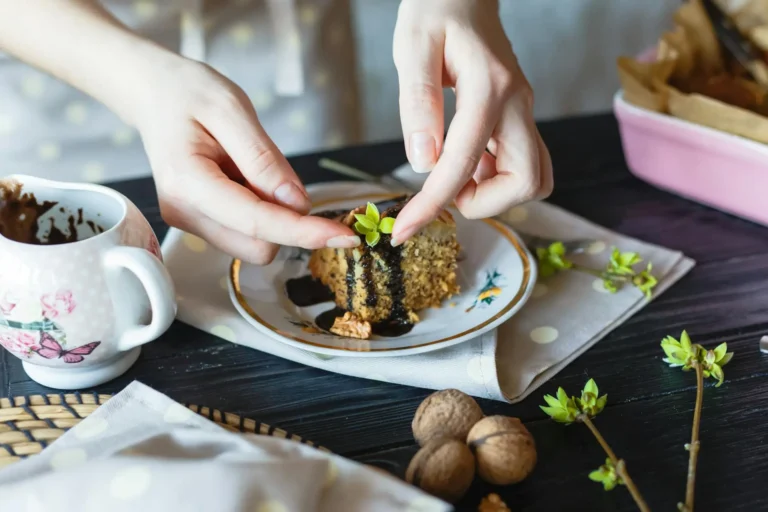
Choosing suitable props
Select props and accessories that complement the theme and mood of your composition. Consider using utensils, napkins, and fresh herbs to add visual interest and context to your flatlays.
Styling tips for eye-catching flat lays
Experiment with different arrangements and compositions to create visually appealing flatlays. Play around with textures, colors, and shapes to add depth and dimension to your scenes.
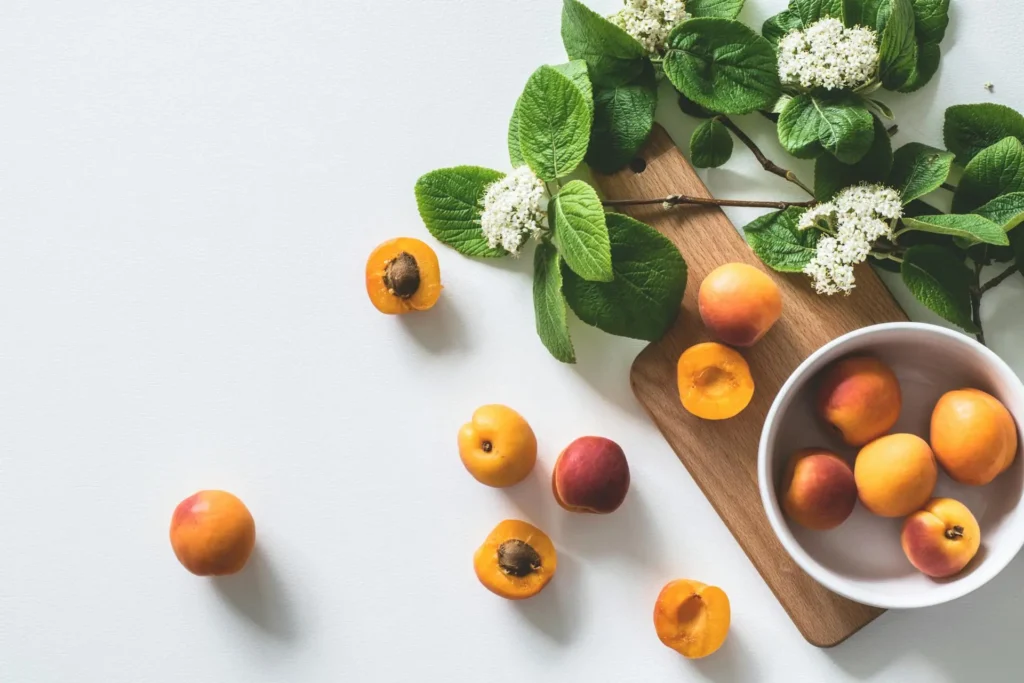
04. Creating Depth and Dimension
Layering techniques
Use layering techniques to create depth and dimension in your flatlays. Place larger items in the background and smaller items in the foreground to create a sense of depth and perspective.
Incorporating textures and colors
Experiment with different textures and colors to add visual interest to your flatlays. Mix and match different elements to create a visually appealing composition.
05. Experimenting with Angles and Perspectives
Finding the perfect angle
Try out several viewpoints and angles to get the most eye-catching picture. Try shooting from directly overhead or at a slightly lower angle to add depth and dimension to your photos.
Playing with perspective
Play around with perspective to create dynamic and engaging compositions. Experiment with different framing and composition techniques to find the most visually appealing shot.
06. Editing and Enhancing Your Photos
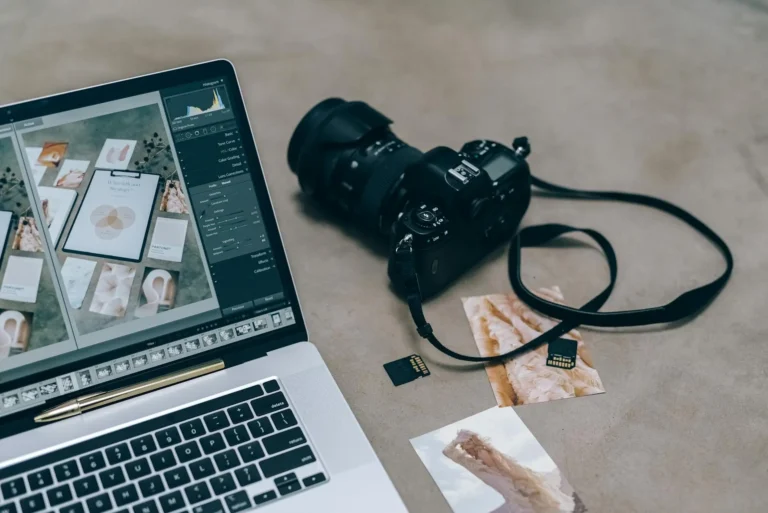
Introduction to photo editing software
Use photo editing software such as Adobe Lightroom or Photoshop to enhance your flatlay photos. Adjust colors, contrast, and exposure levels to achieve the desired look for your images.
Enhancing colors and contrast
Experiment with different editing techniques to enhance the colors and contrast of your flatlay photos. Use selective adjustments to highlight key elements and create a more dynamic composition.
07. Sharing Your Creations
Leveraging social media
Share your flatlay photos on social media platforms such as Instagram, Facebook, and Pinterest. Use relevant hashtags and captions to reach a wider audience and engage with fellow food and photography enthusiasts.
Engaging with your audience
Interact with your audience by responding to comments and messages, sharing behind-the-scenes stories, and offering tips and advice on food photography. Build a community around your work and encourage others to share their creations.
08. Conclusion
Creating stunning food flatlays is a creative and rewarding process that allows you to showcase your culinary skills and artistic vision. By following the step-by-step guide outlined in this article, you can learn how to select the right lighting, arrange props, and style your scenes to capture visually captivating flatlays that leave a lasting impression.
09. FAQs
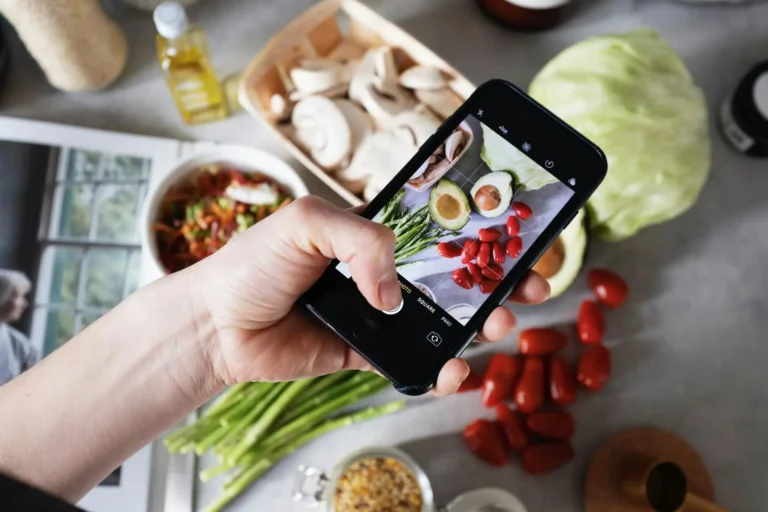
01. What equipment do I need for food flat lays photography?
You can start with a basic DSLR or mirrorless camera and experiment with different lenses and lighting setups.
02. How can I improve my composition skills for flatlays?
Experiment with different arrangements, angles, and props to create visually appealing compositions.
03. Do I need a professional studio setup for food flat lays photography?
While a professional studio setup can be beneficial, you can achieve impressive results with natural light and basic equipment.
04. How can I make my flatlay photos stand out on social media?
Focus on creating visually striking compositions with vibrant colors, textures, and props. Engage with your audience by sharing behind-the-scenes stories and tips for creating stunning flatlays.
05. Are there any online resources or courses available for learning food flat lays photography?
Yes, there are plenty of online tutorials, courses, and resources available for learning food flat lays photography. Explore platforms like YouTube, Skillshare, and Udemy for comprehensive guides and tutorials.